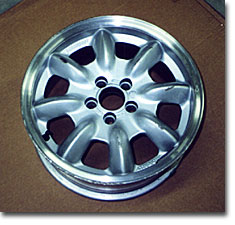
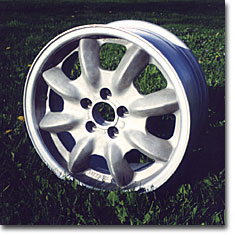
The scratched and scuffed wheels. 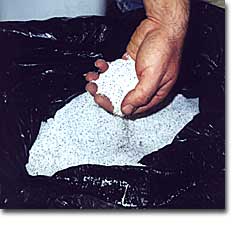
Poly bead blasting media.
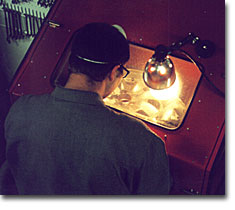
Wheel in blasting cabinet.
Note layers of paint being removed.
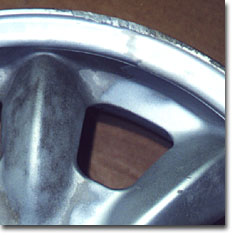
Blasted wheel.
| | Wheel Refinishing: Part I Introduction
Anyone who has ever looked for a set of aftermarket wheels for an Alfa, or tried to replace a damaged stock wheel, knows that there are few available options, and the supply is dwindling as the years go by. Often, when suitable wheels are located, they are in less than ideal condition. Stock Alfa alloys, by virtue of their magnesium alloy construction, seem especially prone to corrosion and finish problems. In this series, we will follow the refinishing of a set of Panasport ProRally wheels from a Milano. These wheels were bought used at a low price, knowing they would need extensive refinishing. While straight and true, as the pictures illustrate, the wheels were in poor condition, with curb scratches on the outer rim and chips and smear marks on the outside of the spokes. Paint Removal
Although the wheels were scratched and scuffed, much of the original paint was in good condition, which would make removal harder. These wheels featured a painted center section with a polished outer lip. The entire wheel was then clearcoated. This left 1 layer of paint (the clearcoat) on the outer rim, with 3 (primer, color coat, and clearcoat) on the wheel center. Under normal use (read: not hitting things) this factory finish should have been very durable. Having previously removed paint from a set of wheels with chemical stripper with mixed results, I decided on bead blasting as the most efficient means of paint removal. This process, while straight forward, is time consuming, but results in a beautiful, natural finish that would need minimal additional work to be ready for polishing or painting. We decided on plastic poly and glass beads, agreeing to start with the less aggressive plastic beads. This decision turned out to be wise, as the poly beads did remove the paint, albeit slowly, without the unwanted surface pebbling the glass beads would have left on the polished lip. These blasting media, as well as other materials and equipment necessary for bead blasting, are available through Eastwood Company. Blasting with poly beads took about 3 hours per wheel, not counting breaks to let the compressor catch up. The Next Steps
The blasting left a clean, natural finish wheel which still has significant scratches on the lip. There are several option for dealing with these scratches: - Filler
- Aluminum welding
- or Blending
Using filler on these wheel scatches rules out the possibility of leaving the outer rim in its original, polished and clear coated finish. Many fillers also will not stand up to the heat of powdercoating, one of the final re-finishing options being considered. Lab Metal from Alvin Labs is a filler putty specifically designed for powder coating. Still the local powdercoater I spoke with said they have about 50% success for repairs using this product. Aluminum welding would seem to be the perfect solution, allowing a new lip to be formed out of aluminum and shaped to blend in with the rest of the wheel. I am currently looking for a local shop experienced in welding aluminum. Another option is simply sanding or filing the outer lip of the wheel to blend these scratches into the contour. While this may be the route I end up taking, I would like to exhaust the other options first. Check back next month when we will detail the outcome of the scratch repair process and begin painting preparation. |